When to Use Brims, Rafts, or Skirts — and What Each Really Does
Brim, raft, or skirt? What each bed adhesion helper actually does, and which one your print needs, which is often none of them.
You’ve got your model ready, filament loaded, and first layer dialed in. But then comes the question that trips up nearly every 3D printer user: do you need a brim, raft, or skirt?
These aren’t just decorative edges. They help with adhesion, reduce warping, and make prints more reliable. Choosing the right one can mean the difference between a perfect model and a frustrating failure.
What Each Option Actually Does
Before we pick, it’s helpful to know what these print helpers do.
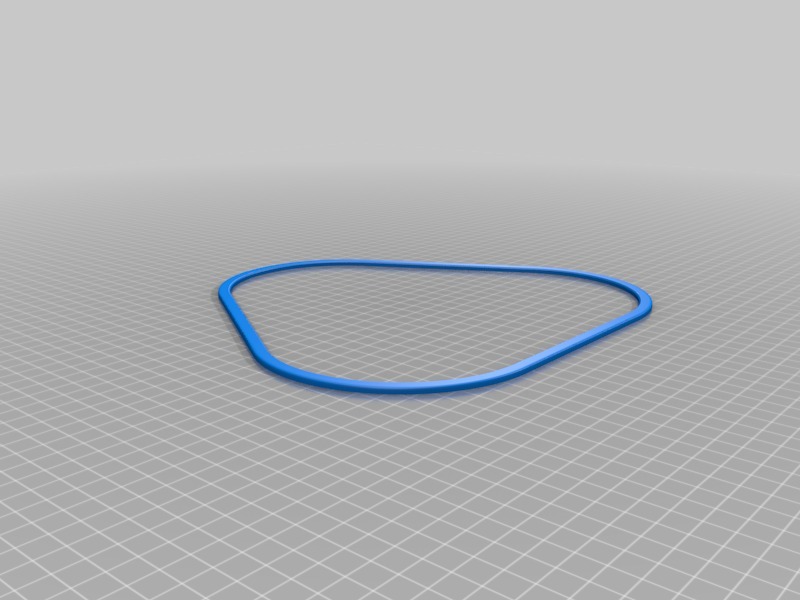
- Skirt: A thin outline around your model. It doesn’t touch the print. Its main purpose is to prime the nozzle and check first layer consistency.
- Brim: Lines that extend out from the edges of your model. They touch the print and help large or thin bases stick to the bed.
- Raft: A thick platform printed under your model. It separates the print from the bed entirely, helping adhesion and dealing with warped surfaces.
Each has pros and cons depending on your print.
Skirts: The Simple Primer
A skirt is usually the first layer of filament around your model, printed a few millimeters away.
Why use it:
- Primes the nozzle to ensure smooth extrusion.
- Lets you see if the first layer sticks evenly.
- Gives you a chance to adjust bed leveling before the real print starts.
When to use it:
- Small or medium prints that already adhere well.
- When you just want to check extrusion without wasting filament.
- Models with simple bases that don’t warp easily.
Skirts are quick, use very little material, and are mostly diagnostic.
Brims: Grip for Tricky Prints
A brim adds extra lines attached to the perimeter of your model. It’s wider than a skirt but still very thin.
Why it’s great:
- Helps corners and thin bases stick better.
- Reduces warping on PLA, PETG, or flexible filaments.
- Easy to remove after printing.
When to use it:
- Tall prints with narrow footprints.
- Flat models prone to lifting or curling at edges.
- Materials that shrink slightly when cooling.
Brims are a little more material-intensive than skirts but give a big boost to first-layer adhesion.
Rafts: Solid Foundation
Rafts are like a temporary floor for your print. They are thick layers printed underneath your model.
Why they help:
- Compensate for uneven beds or surfaces.
- Provide maximum adhesion for warping-prone materials like ABS.
- Can protect delicate or detailed first layers from mistakes.
When to use it:
- Large or complex prints with uneven or unheated beds.
- Filaments that warp a lot (ABS, some PETG blends).
- Tiny models where adhesion is difficult.
Rafts use more filament and require post-processing to remove, but they almost guarantee the print stays stuck and stable.
How to Choose Between Them
The choice depends on your model and filament.
- Small, simple, well-adhered prints → skirt is usually enough.
- Narrow, tall, or warping-prone prints → brim.
- Complex, delicate, or high-warp materials → raft.
Sometimes it’s a combination. For example, a skirt plus a small brim can prime the nozzle and add adhesion without a full raft.
Practical Tips for Anycubic Printers
- In Anycubic Slicer Next, you can set skirts, brims, and rafts under “Build Plate Adhesion.”
- Adjust skirt loops or brim width to suit your print size. A thin brim for small prints, a wider brim for tall or thin parts.
- Rafts can be thick or thin; balance adhesion with material use.
Tip: I often start with a skirt to test the first layer, then add a brim if I see any lifting or curling.
Common Mistakes
- Using a raft when you don’t need it: wastes filament and leaves extra cleanup.
- Skipping brims on tall thin parts: edges lift, print fails.
- Brim too narrow: corners can still lift; too wide: hard to remove.
Small adjustments make a big difference. Test with one model before committing to a long print.
Quick Reference Table
| Adhesion type | When to use | Why |
|---|---|---|
| Skirt | Small, simple prints | Primes the nozzle, checks the first layer |
| Brim | Tall, thin, or warp-prone models | Adds adhesion at the edges |
| Raft | Complex models, ABS, warping filaments | Maximum adhesion and support |
Wrapping It Up
Skirts, brims, and rafts aren’t just fancy add-ons. They directly influence print success, reduce warping, and protect delicate details.
Start with a skirt to test your setup. Add a brim when edges need extra grip. Reserve rafts for challenging filaments or complex models.
With these tools, your prints are more reliable, your filament less wasted, and your frustration minimized.
Once you understand when to use each, you’ll stop guessing and start printing with confidence.
Related articles
Print Layer Adhesion: How Temperature, Speed, and Cooling Interact
Layer adhesion is what holds a print together, and it comes down to three settings fighting each other: temperature, speed, and cooling. Here’s how to balance them.
How to Optimize Wall Thickness for Strength Without Wasting Filament
More walls usually means more strength, up to a point. How to set wall thickness so parts hold up without wasting filament.